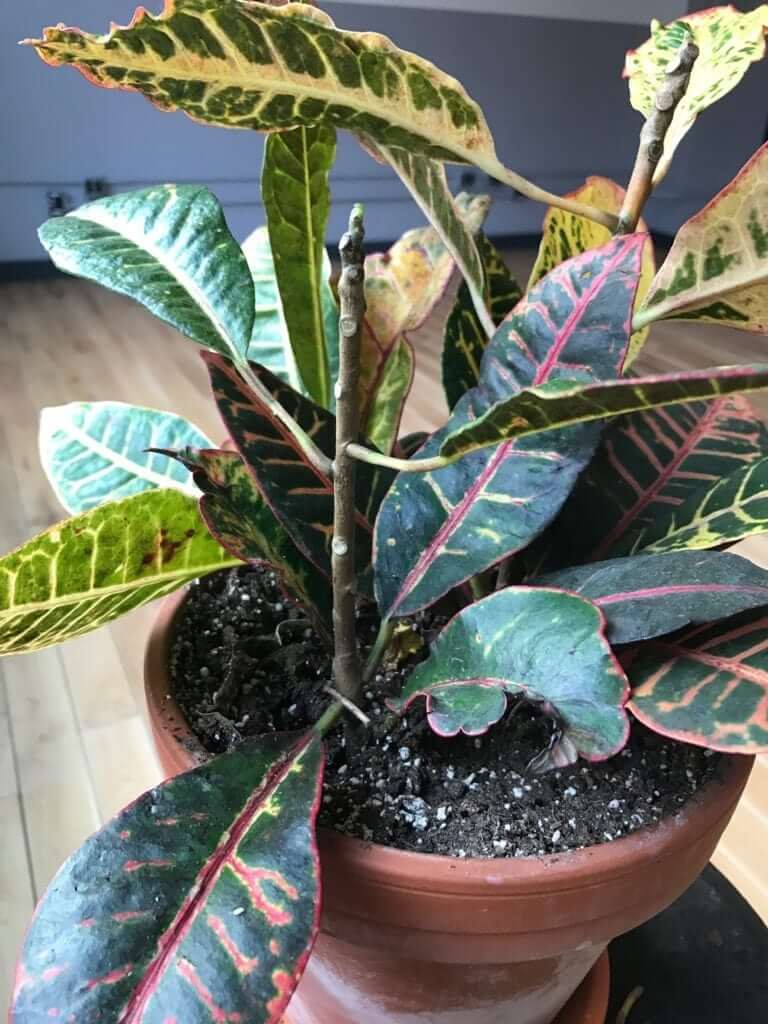
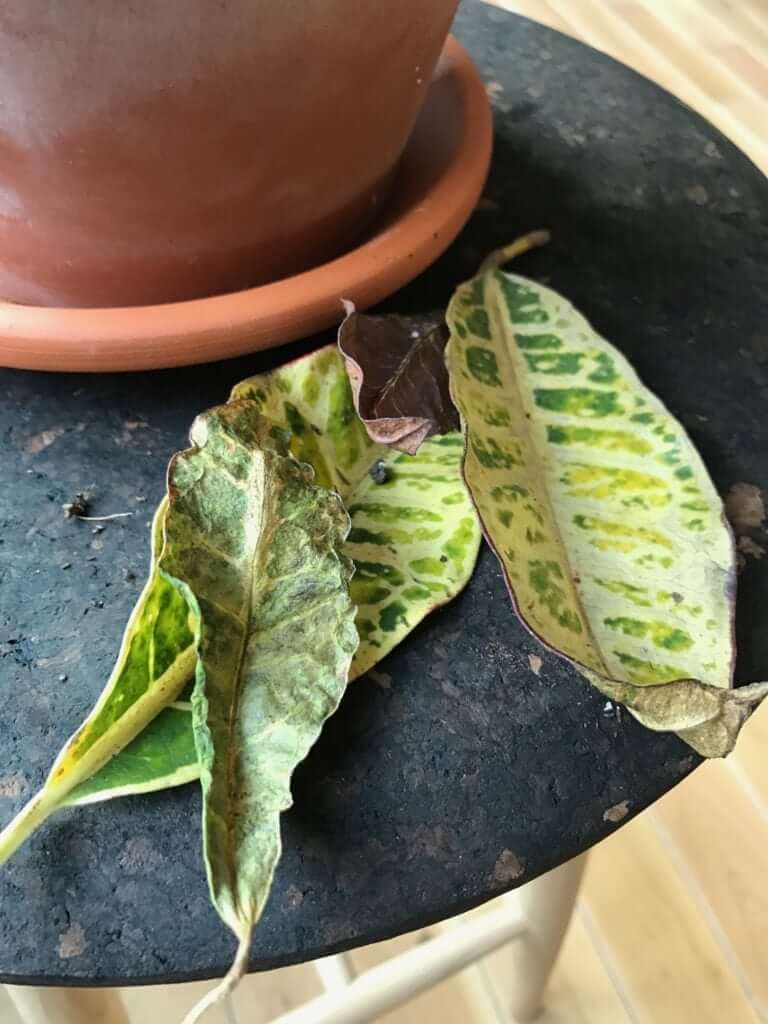
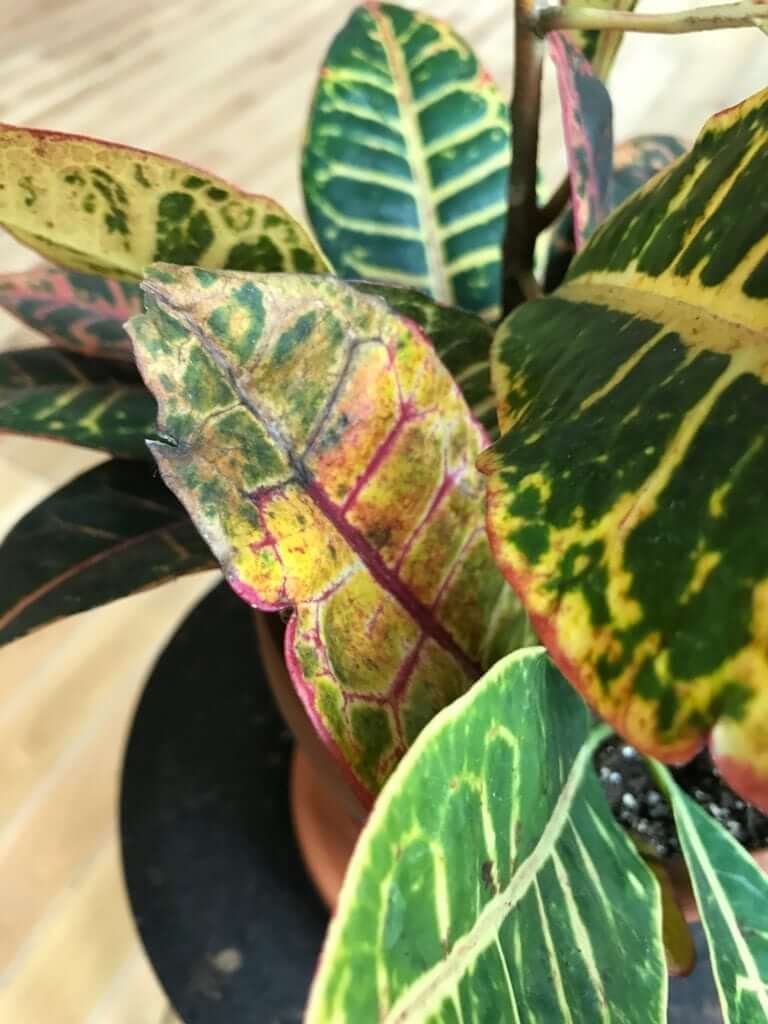
There can be many causes to what’s wrong with your Croton Petra, but don’t worry the Grow-How™ Team is here to help! We’ve outlined several common issues, and offered some solutions to get your plant back in shape. Luckily, the Croton Petra is tough, so even if your plant has lost all its leaves, don’t lose hope!
Plant Symptoms:
– Dropping leaves
– Wilting
Potential Cause 1: Stress
Leaf drop on a Croton Petra can be expected anytime the plant is stressed or out of balance. Crotons do not like change, so if you change its location or transplanted your Croton, shock will set in and usually cause leaf loss.
How to fix it:
Give your Croton Petra some TLC and have patience! Usually, in 3-4 weeks, you’ll have fresh, tender leaves that will mature to their full glory. Here’s the best news: Crotons are tough. Even if your Croton Petra is brown and leafless, it doesn’t mean that your lovely plant is gone forever. Gently scratch the main stem. If the tissue underneath is still green, your plant is alive and may recover.

Potential Cause 2: Improper Watering
Crotons are sensitive to overwatering. Normally when a plant’s leaves are wilting this means it needs more water, however, if you notice your Croton Petra’s leaves are wilting, you may be watering too much. If the bottom leaves of the plant dry out and fall off, you are not watering enough.
How to fix it:
During the Spring and Summer when your plant is actively growing, check it frequently and water well whenever the top inch of soil becomes dry. Water thoroughly, until the water runs through the soil. Don’t water again until 25-50% of the soil volume becomes dry.

Plant Symptoms:
– Crispy, brown leaves
Potential Cause: Improper Watering and Lack of Humidity
If the leaves of your Croton Petra are turning brown and feeling crispy, the most likely cause is improper watering habits and lack of humidity. However, f you see small brown spots trimmed in yellow, your plant might have a Leaf Spot Disease.
How to fix it:
The best way to water your plant is to thoroughly flush it until the water freely runs out the drainage hole. By doing this, you are also washing away any salt build up in your pot from too much fertilizer and softened water. Increase To increase the humidity in your home add a humidifier or, simply mist your plants lightly. If you group similar plants together, you can create a microclimate which naturally has more humidity too.
If it’s a fungal disease, remove the infected leaves, avoid wetting the foliage when watering the plant’s soil, and increase the air circulation around the plant. Typically, these adjustments take care of the fungal disease.

Grow-How™ Note:
We suggest always removing the damaged area of a leaf or the complete leaf if entirely brown. Removal of the dead leaf or damaged areas helps the plant recover and look its best. You will need very sharp scissors or pruning shears.
Instructions for proper removal of damaged or dead leaves:
1. Trim off brown leaf tips or spots with clean shears. Cut off only the damaged tips or spots leaving a tiny margin of brown so not to damage the remaining healthy foliage on the plant.
2. If the entire leaf has turned brown, remove individual leaves at their base. Pull the leaf gently; it may come off on its own. If the leaf doesn’t separate with gentle pulling, snip through the stem with clean shears.
—
Do you have a plant question or concern? Don’t worry the Grow-How™ Team is here to help! No matter what your question is or what kind of plant you have, we are here to answer your questions and give you the encouragement you need to be the best plant parent you can be. We want to share our love and knowledge of plants with you.


