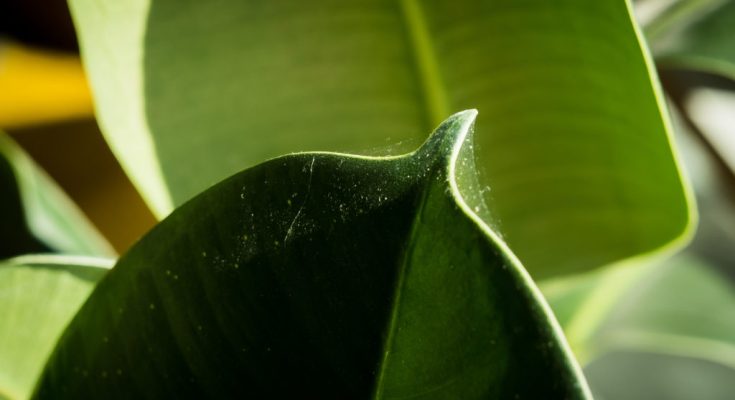
Unwelcome pests on indoor plants are likely at some point in every plant parent’s journey, but it’s easy to rid your plant of these pesky bugs just by following a few simple steps.
Spider mites are a common pest to find on both indoor and outdoor plants. These sap-sucking pests can harm your plants if left untreated. The Grow-How® team is here to help you learn what to look for, how to treat, and how to prevent spider mites in the future. Read on to learn more.
What Are Spider Mites?
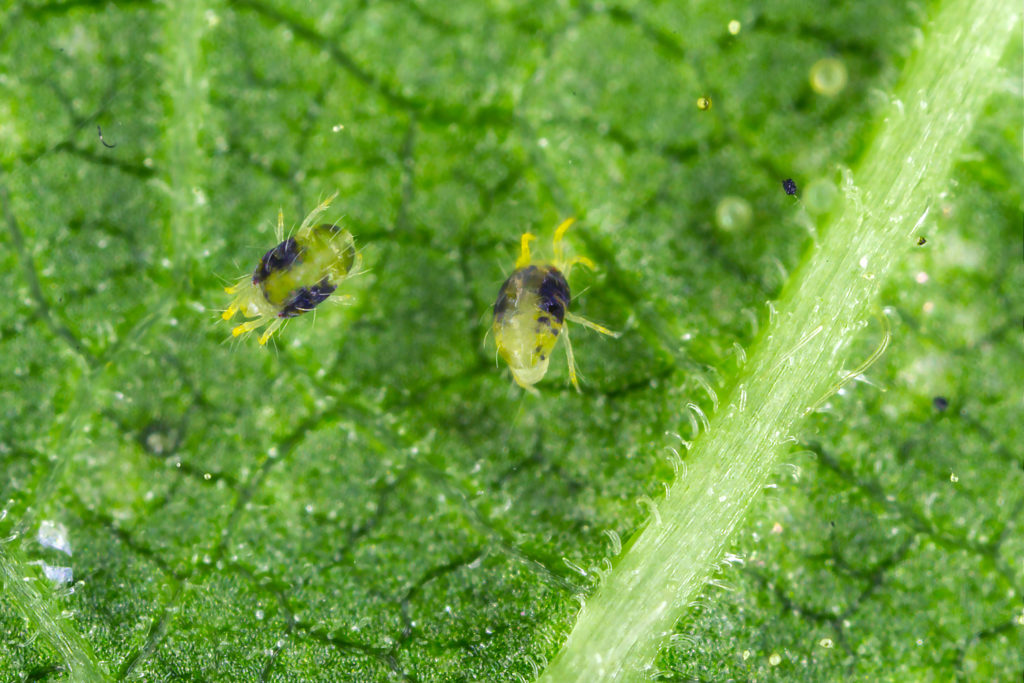
Spider mites are teeny tiny arachnids that feed on plants. They can be found on both indoor and outdoor plants and can cause some serious damage if not detected and treated early on. Since they are so small (roughly 1/50th of an inch), they can be difficult to spot. You’re likely to notice the signs of these pests rather than the pests themselves.
The hard-to-see spider mites use their sharp, piercing mouthparts to feed on the sap of leaves and stems. When they suck the sap from a plant, it causes a tiny spot of discoloration. These tiny spots add up quickly as a spider mite population grows and thrives on your plant, and eventually weakens the plant. This can cause serious health issues down the line.
If you think you have spider mites, don’t fret! They are treatable and you can get your plant back on the right track in no time. Let’s learn about the signs of spider mites.
Signs of Spider Mites on Your Plants
Spider mites are difficult to see. Usually, by the time you clearly can identify the infestation, the plant may already be heavily damaged. Here are some signs to look out for:
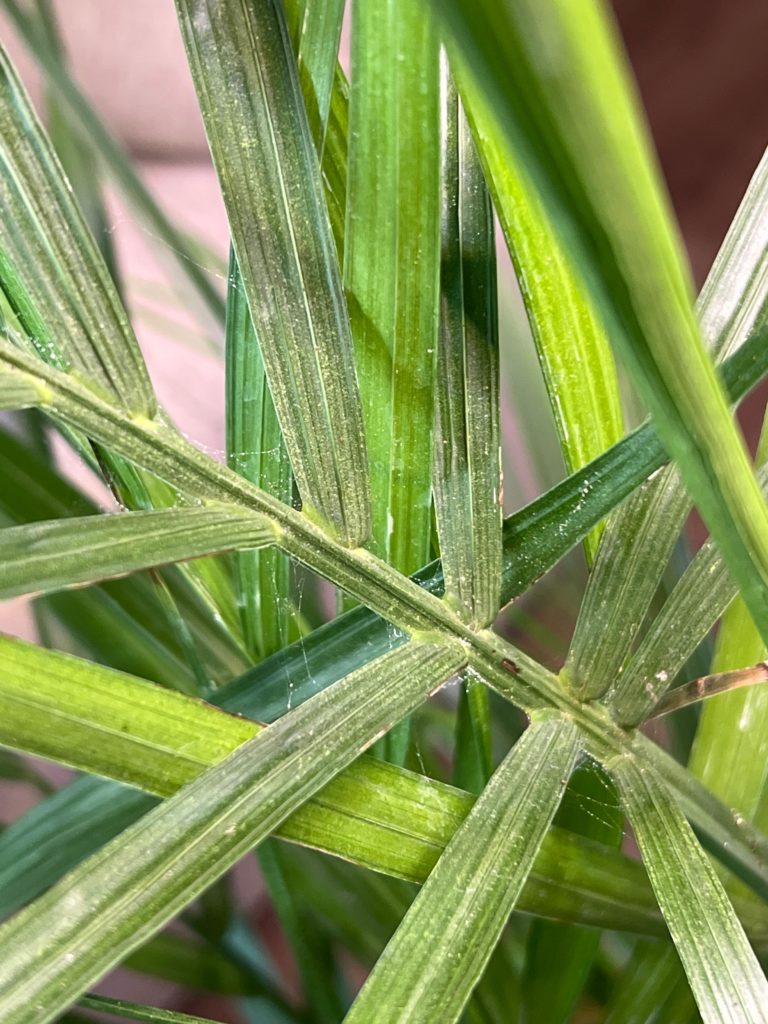
- Fine webbing
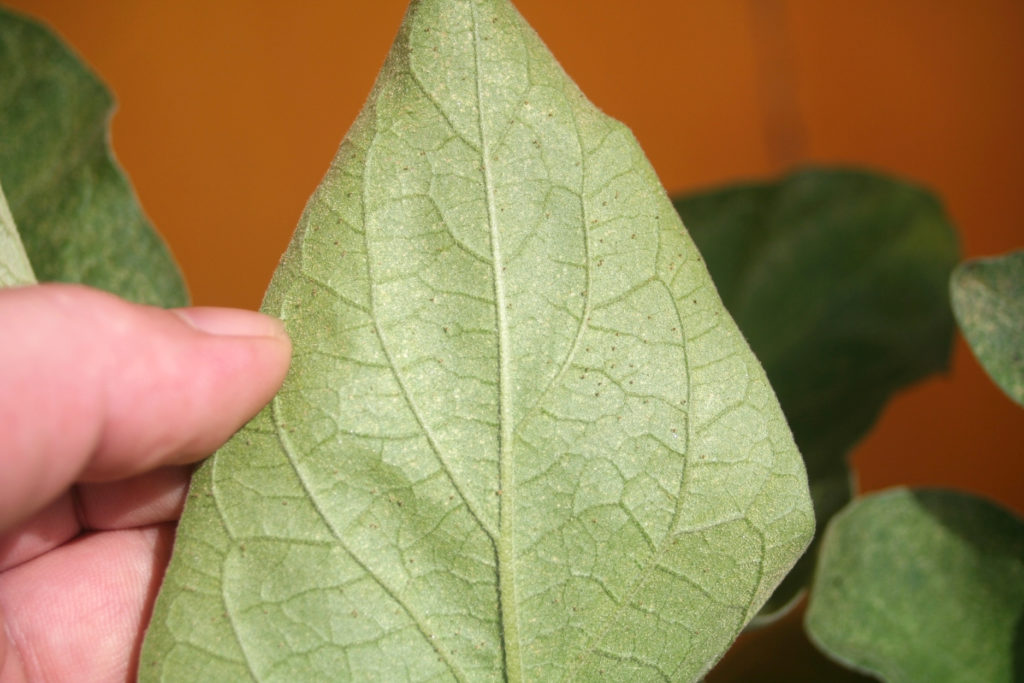
- Small dots on the underside of leaves (especially moving dots)
- Mottled discoloration on leaves
- Bleached or bronzed color on leaves
- Dirty or dusty looking leaves
- Dropping leaves
How to Treat Spider Mites
Plants can be treated to get rid of the infestation, especially when caught early on. The Grow-How® team has put together an effective treatment so you can get your plant back on track. Follow the steps below to treat your plant for spider mites:
Step 1: Quarantine your plant
As with any infestation, when you first spot a problem, begin pest treatment immediately. The first thing to do is quarantine the affected plant so that you can prevent pests from spreading to your other indoor plants. Try keeping it in a different room, but if that is not possible, make sure it is at least several feet away from other plants until the spider mites are eradicated.
Step 2: Trim heavily infested leaves
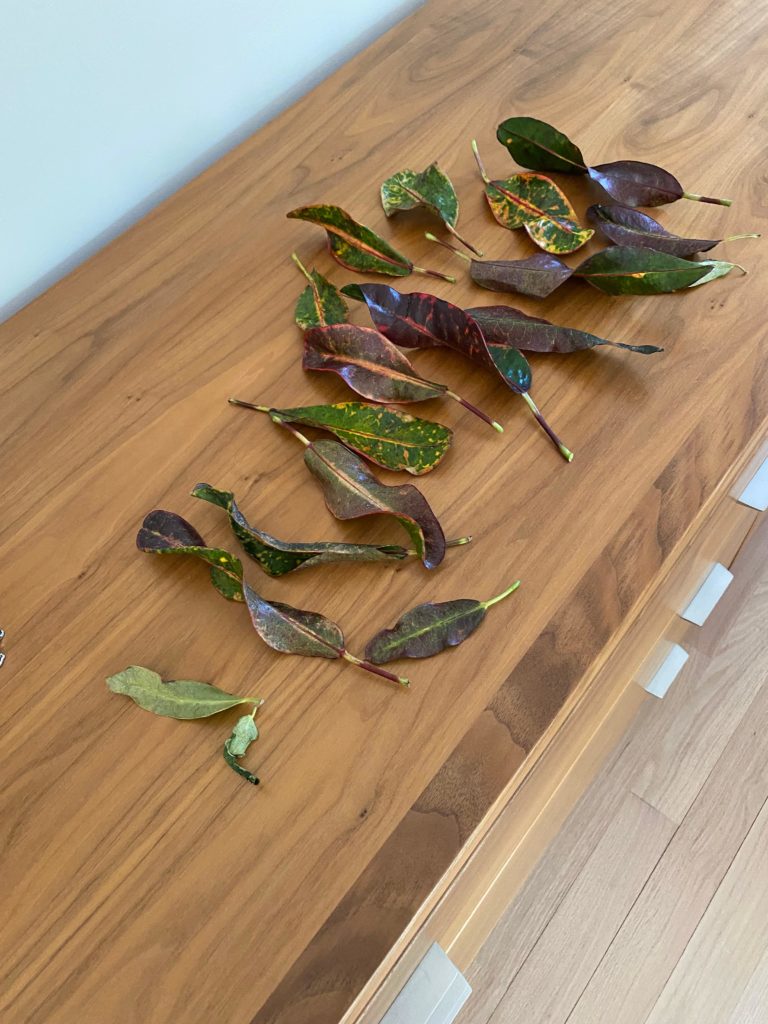
Trim heavily-infested leaves from the plant with a pair of plant snips and discard of them. Already-damaged leaves won’t bounce back from spider mite damage, and removing heavily-infested areas can eliminate a large majority of pests on the plant. Be sure never to remove more than 30% of the leaves from a houseplant at one time.
Step 3: Spray the plant off with water
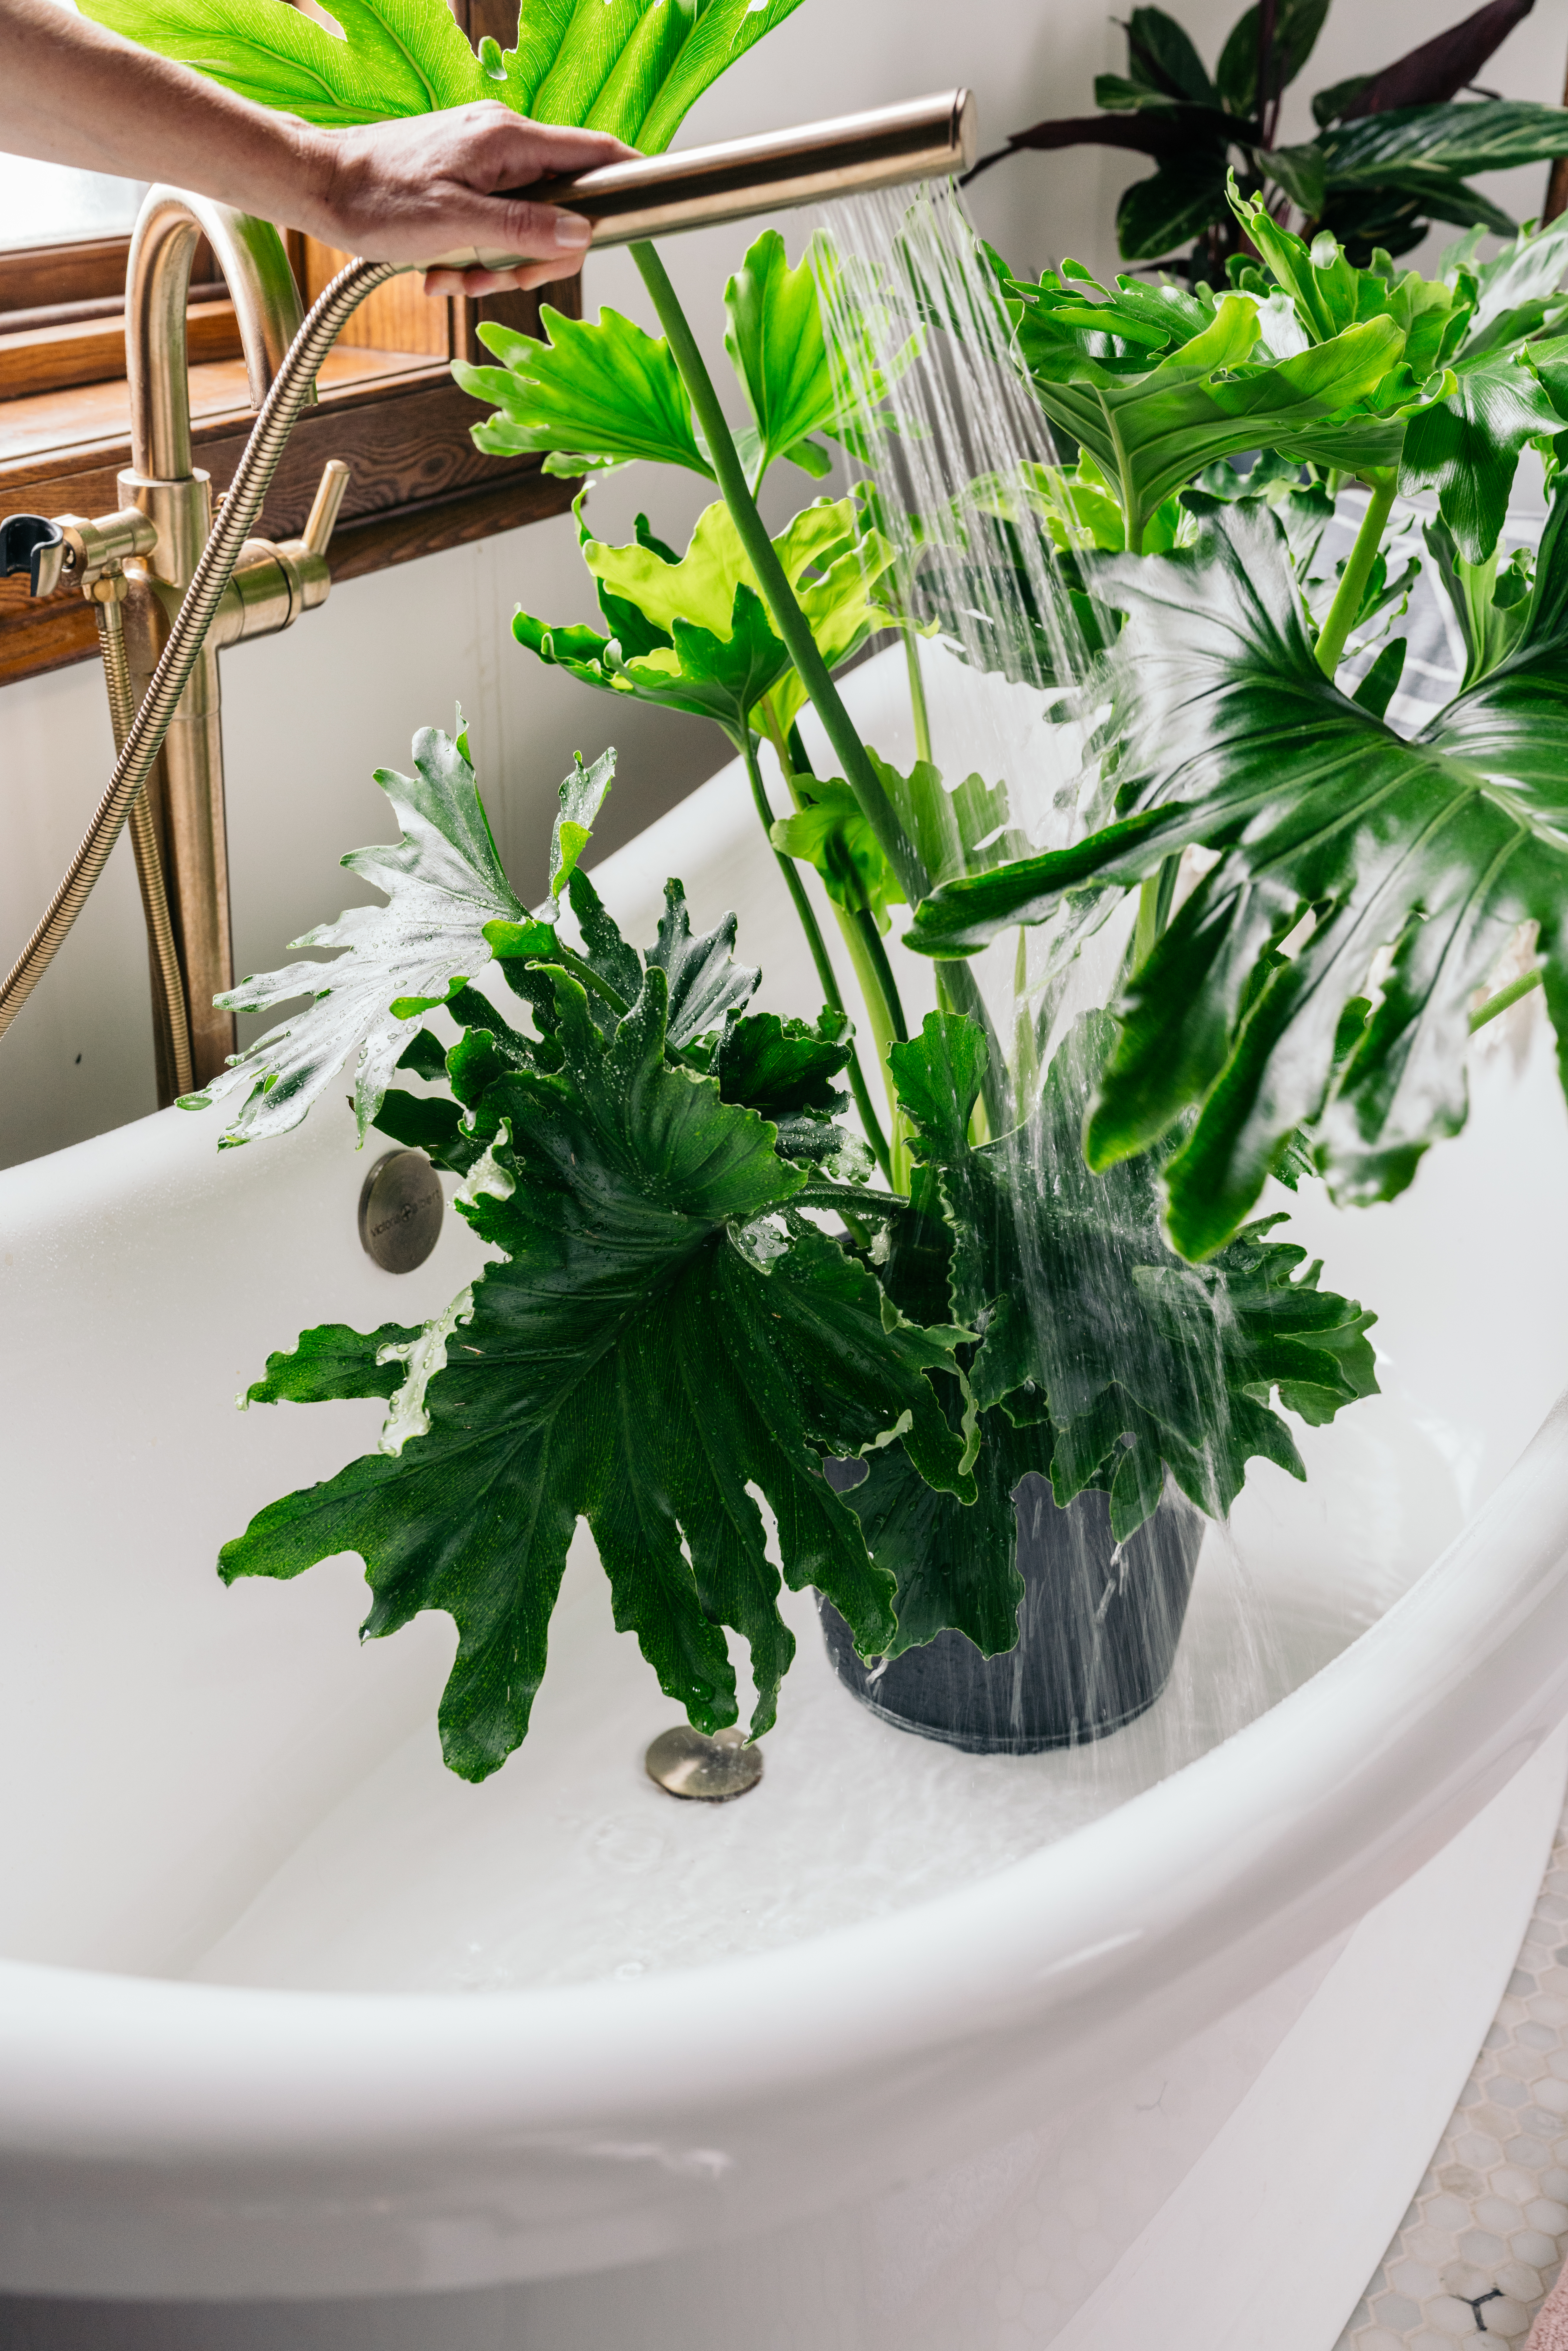
Bring the infested plant to the sink or tub and spray the plant down with lukewarm water. If it is warm enough in your area, you can also do this outside with a hose in a shaded area. Spraying the plant down helps knock off a majority of the pests.
Step 4: Clean the plant with soap
Thoroughly wash the leaves and stems with a mild soapy water solution then give the plant another good rinse. You can pick one of the following:
- 1 tsp of Dr. Bronner Mild Liquid Baby Soap per 1 liter of water
- Store-bought insecticidal soap (always follow the directions on the bottle)
Keep in mind that some soap can damage the plant, so it’s best to test it on a few leaves before spraying the entire plant.
Step 5: Treat the plant with a control product
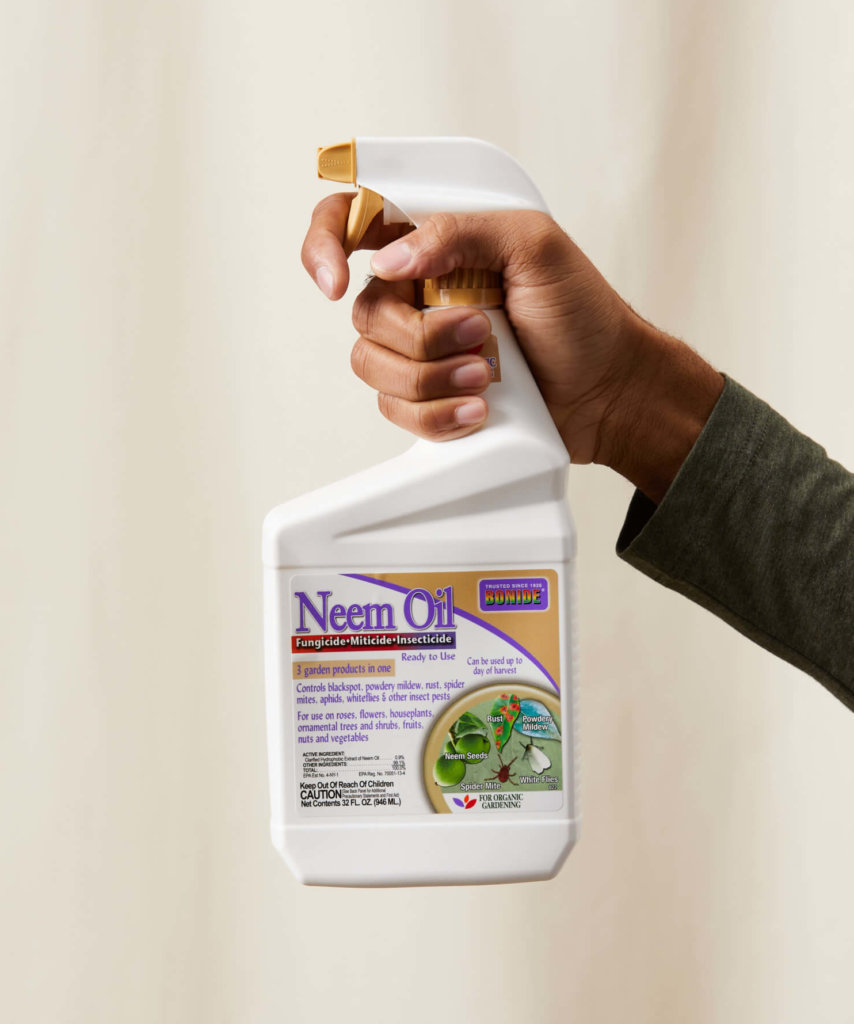
Both neem oil and spinosad treatment are effective ways to kill spider mites and control the infestation. You can pick one of the following:
- Spinosad Treatment contains a naturally occurring bacteria that when eaten by spider mites, kills them with a residual effect. Typically once consumed, the pest will perish within 48 hours of consumption.
- Neem Oil also has a residual effect to keep the pests from coming back quickly. Derived from the Neem seed, Neem Oil kills pests, eggs, and larvae on contact. Neem oil can make your plant sensitive to sunlight. It’s best to avoid direct sunlight for a few days after treating your plant.
With any control product, we suggest to always follow the directions provided on the label. With either of the options above, be sure to thoroughly coat the entire plant, but focus your spray on the undersides of the leaves, as this is where spider mites lay their eggs.
Step 6: Keep an eye on it and repeat treatment if needed
Keep in mind you will most likely need to use this treatment process several times to fully break the spider mites’ life cycle. We recommend retreating once every 5-7 days for at least two weeks. If there are no new spider mites found after several weeks of inspecting the plant, you can add it back to your collection.
Tips to Prevent Spider Mites in the Future
Frequently check your plants
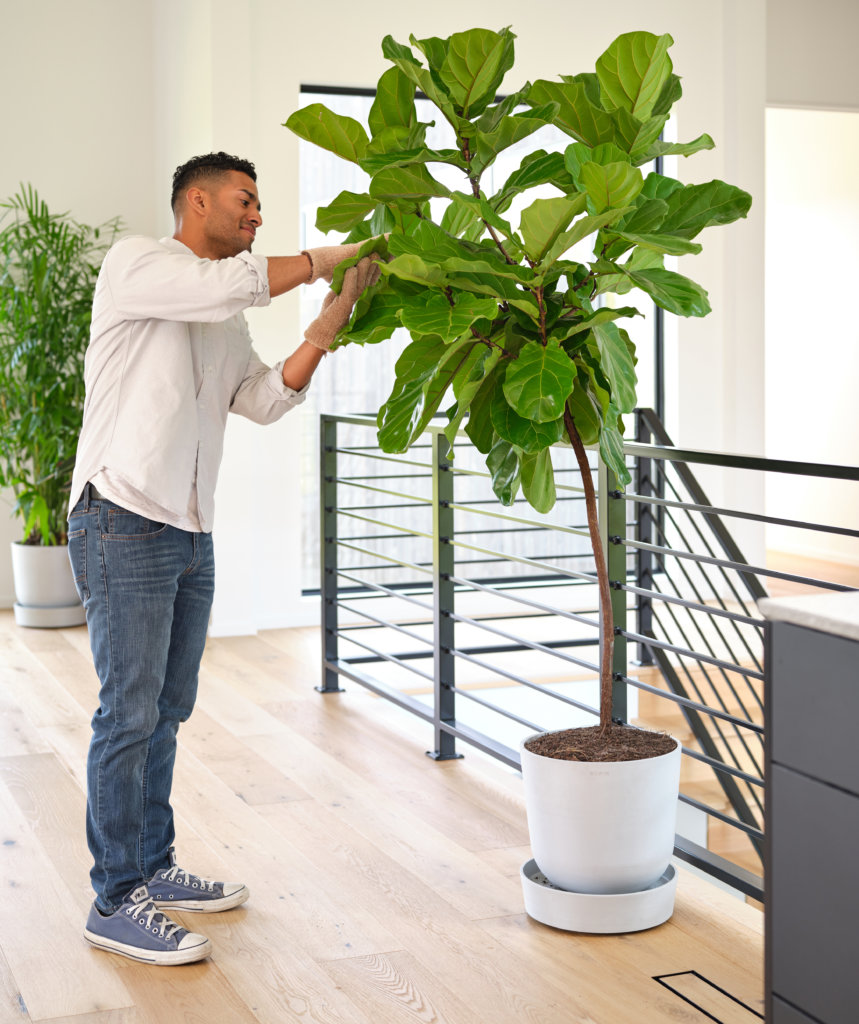
The best way to avoid heavy spider mite damage to your houseplants is to check your houseplants on a regular basis for any signs of problems and start treating the plant as soon as you discover any pests.
Make sure your plant care routine is on point
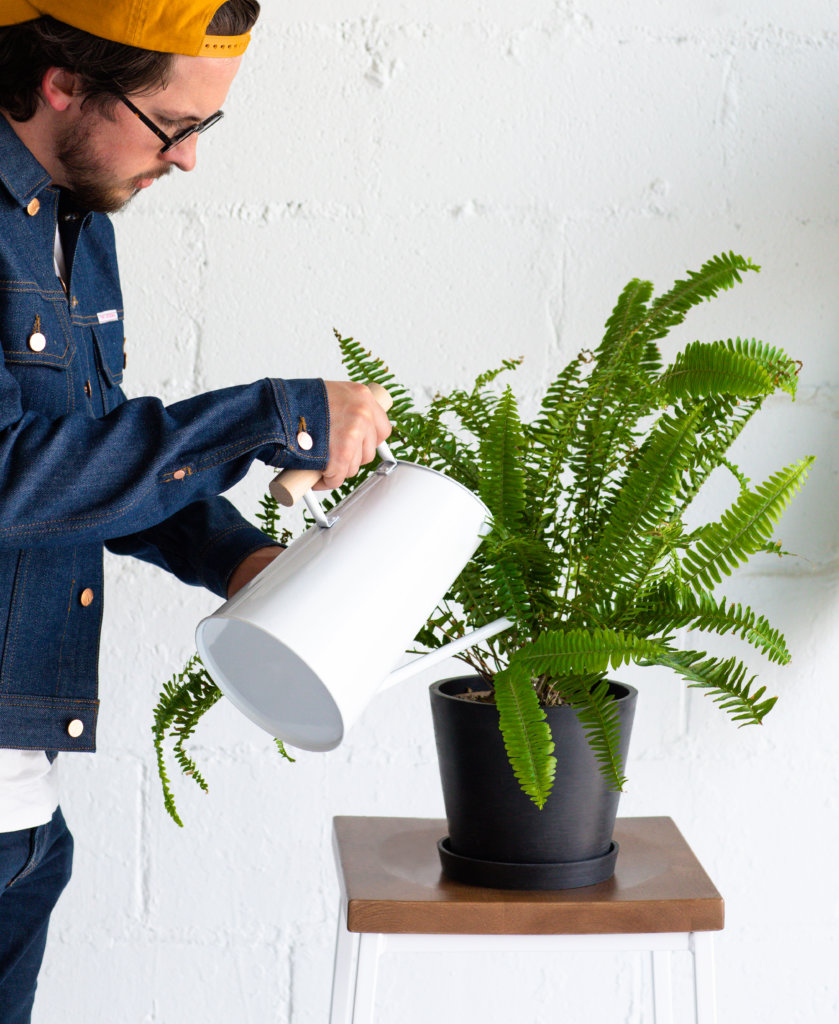
Plants are more susceptible to a pest infestation if they are already stressed, so it’s important to provide proper care to your plants to keep them happy and healthy! If you need help caring for your plant, check out our plant care guides.
Provide a humid environment

Since spider mites thrive in dry conditions, keeping the air around your plants humid will help prevent infestation. Keeping your plant far from air vents, adding a humidifier nearby, or placing the plant on a pebble tray can help to boost humidity and prevent spider mites. Read more about humidity in the Grow-How® team’s blog here.
